
This is part 3 in our series on software product discovery workshops, in case you've missed them, here are the first two parts:
Part 1: We looked at how to successfully prepare for product discovery workshops: Read here.
Part 2: We explain how to successfully run information gathering sessions with the client. Read here.
In this final part, we look at how to structure discovery workshop information and outputs to get you on the path to building an outstanding digital product.
User Story Mapping

Duration 2-3 hours
A user story map is a collaborative process that captures the user journey and the associated tasks and activities users undertake at each stage. It helps the team to design and build functionality that’s focused on customer goals, instead of solely on development output or feature specifications.
Before, user story mapping was done on a physical whiteboard with post-it notes and markers, however in this new remote world, we’ve been using Miro.
Miro has inbuilt user story mapping templates or you can choose to build your own.
It’s a collaborative process so the user story mapping session should include Product Owners, Developers, UX Designers and other key stakeholders - each of them will bring different viewpoints and expertise.
We set up our user story boards to capture the following:
Goals (top line - pink virtual sticky notes) - things that the user will want to achieve by using the product. We ask each team member to spend 5-10 minutes brainstorming these.
Tasks (middle line - blue sticky notes) - actions that ideally a user would do throughout the product journey.
Steps (bottom - yellow sticky notes) - individual steps that users complete throughout the journey
Much of this will be facilitated discussion within the team. When doing this remotely, we make good use of grouping tools, screen shares, comment functions and video chats.
The story map becomes a visual representation of the product backlog and it gives a good indication of the size and scope of the project.
Prioritising user stories
Prioritising user stories is just as important as writing them. There are a number of ways to prioritise. Our preferred method for prioritisation is dot-voting.
What is dot-voting?
Dot-voting is a way for workshop participants to prioritise and agree key product features.
Each person is given a number of coloured dots and is asked to vote on priority features.
The great thing is that Miro already has an inbuilt dot-voting feature and you can configure it to minimise influence from other peoples' votes.
Before voting takes place, remind everyone of the purpose and value of the voting workshop and what’s expected of them. It’s a good idea for the facilitator to run through a screen-share example on Miro first.
Everyone should place their votes quietly and discussion should come after. If you have particularly strongly opinionated people in the group, establish a voting running order. This might mean letting others go first and preventing the HIPPO (highest paid person's opinion) effect.
This should then give the team a list of prioritised features. Once we have these, we discuss the following:
Why have the participants voted for that particular feature?
What challenges does the product solve with these features?
Does the prioritised feature list align with the digital product vision?
Estimation
Once you have a list of agreed prioritised features, you can begin to estimate the time and effort needed to complete each initiative in the product backlog.
There’s a number of ways to approach this, but one of the most common ways is agile planning poker.
At xDesign, we built our own digital planning poker tool that helps us to estimate story points.
Here’s how it works:
Each member of the team will select an item from the backlog, discuss it and assign a number that reflects their estimate. We follow the Finbonacci sequence of 1,2,3,5,8,13,21
The estimators all discuss the feature and privately select a virtual card that represents their estimate. These are all revealed at the same time.
Sometimes, estimates across the team will be similar. However if they’re not, it’s important to discuss with the people who voted higher or lower - particularly if they’re an expert in the particular discipline.
We know typically for that particular team roughly how many story points we can fit into a 2 week sprint based on our team’s velocity - this helps us create a timeline and rough order of magnitude costs for building the product.
Following this, you may need to re-prioritise based on the client's budget. We would typically use the MoSCoW method for this, detailing Must Have, Could Have, Should Have and Won’t Have features.
Before entering sprint planning, the team will also write up acceptance criteria (AC) - a set of predefined requirements that must be met to define a user story complete.
Acceptance Criteria should be kept as simple and concise as possible and everyone must ensure that they understand the AC and the justification behind it.
Information architecture and visual designs
During our remote product discovery sessions, our product designers will often build out Information Architecture (IA) sketches. These are normally a combination of a flowchart and wireframe. It’s essentially a visual representation of “what goes where” both in the navigation and on the actual app screens.
Information Architecture takes into consideration:
Sitemaps
Navigation patterns
Object placement
Content organisation
Data points

Visual Designs and Mock-Ups
Sometimes, after going through an entire discovery process, participants may still have trouble envisioning how the product is going to look. Building some “look and feel” designs based on key screens is an excellent way to get people to envision how the end product could look. We’ve been using Figma recently to do this, a fantastic collaborative UX and UI tool.
Remote Sprint Planning
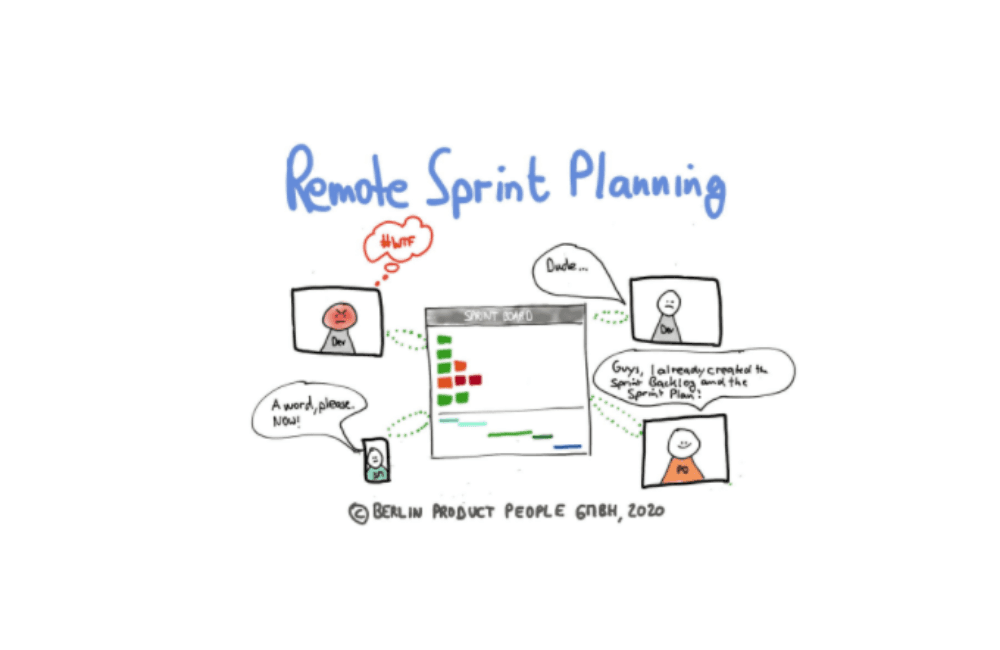
Finally, it’s time to start planning your sprints. Normally, either our Product Owner or the client will define the next sprint priority from the product backlog.
Now that we’re running our sprint planning sessions remotely, we do this via video-conferencing with the entire scrum team and all outputs are recorded in Jira. We keep our sprint planning sessions time-boxed to a maximum of 2 hours.
A good sprint plan doesn’t need to be intricate and bogged down with details. It should be just enough to motivate the scrum team with a clear sprint goal and plan for success. Read our blog post on why sprints are normally two weeks long.
We hope that you have found this Remote Digital Discovery series insightful and that you’ve been able to take away tactics and strategies to apply to your own software discovery processes.
In case you missed it, here are the links to each article in the series;
Part 1 - Remote Digital Discovery Workshops - A Guide To Successful Preparation
Part 2 - How To Run Remote Discovery Sessions On The Day
If you would like to talk to us about planning your own Discovery Session, get in touch.
